If you missed Parts 1 and 2 you can find them here
Part 1
Part 2
The foundations were finished around July 2012. Each pier has a galvanised anchor strap set in it an the columns will be secured to these.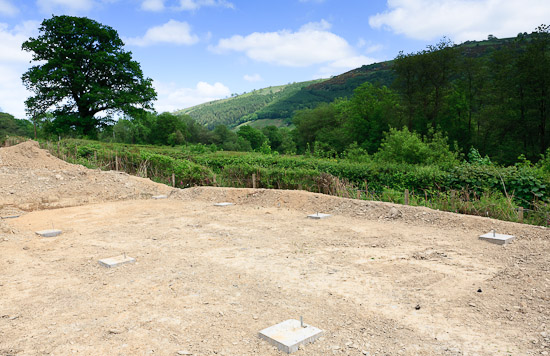
- The foundations were finished in around July 2012
Unfortunately everything then went on hold due to a combination of the wet weather and us starting the building work on the house. I found a local sawmill here in Carmarthenshire and Rocco at Talley sawmills sourced some larch and cut it to my specifications. Rocco is definitely a ‘character’ and not necessarily the fastest but he found, cut and treated all the timber for me for a very reasonable price. So I’d definitely suggest that you ‘sound out’ your local saw mill for a project like this.
In essence I am using 200mm x 200mm upright columns each with a cut in one end to accept 200mm x 100mm cross beams; these will be bolted together. Then rafters will span across the barn and these are 200mm x 100mm above each column with (2) 200mm x 50mm rafters in each bay.The latter will be secured by upside down joist hangers. Each column will rest on the concrete pads with a d.p.m. and be secured to the galvanised straps in the concrete base.
Sounds complicated but should become obvious from the photos.
It was several weeks before the timber was delivered and things gradually ‘slipped’ so it was not until June 2013 when Jonathan, our son, came home again and he was press ganged into helping with some of the heavy lifting that we started the build. When we first erected the columns we decided that the barn was just going to be too tall. It would be fine on a working farm; but would be too visible in the landscape. So with the help of a chainsaw I reduced the columns to a height that gave sufficient access for a tractor but that was not too high so as to be visible from the house and from the other side of the valley.
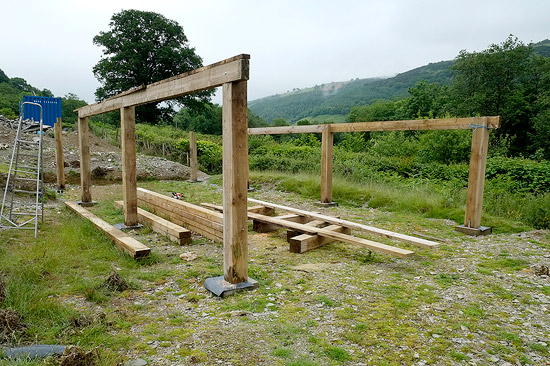
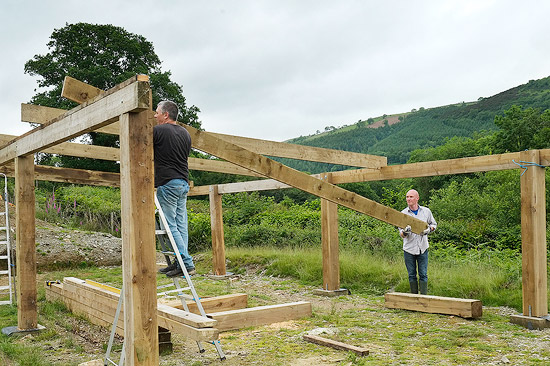
Getting the first cross pieces into place was a tad tricky as nothing was really secured and it was all a bit wobbly! But after we started to drill and bolt the joints the frame started to become more rigid. We then had to constantly check that columns were plumb and that distances were the same between openings etc. But after around two days work we had the basic frame in place. It still needs horizontal rails to board the external boarding to and needs some purlins/battens across the rafters to fix the roofing sheets to.
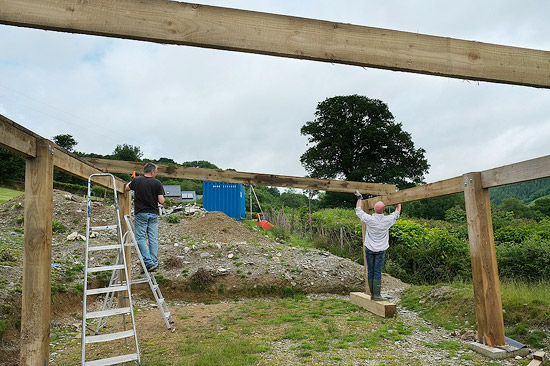
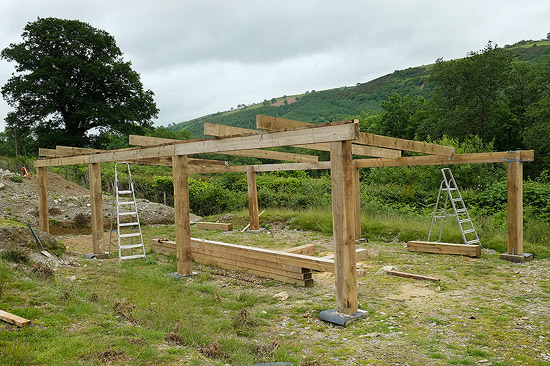
We also found that it needed some triangular braces between horizontal beams and columns to increase its stability.So these were duly added and treated with preservative.
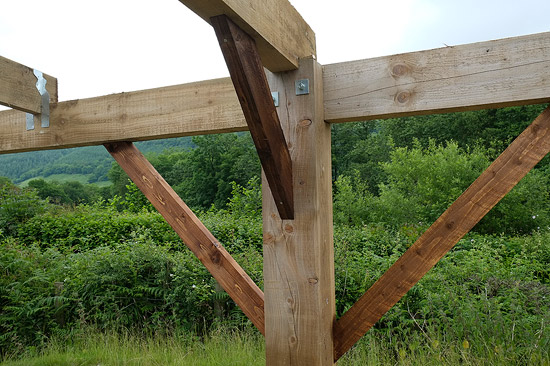
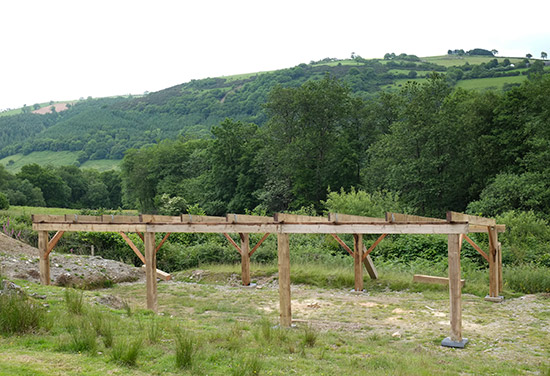
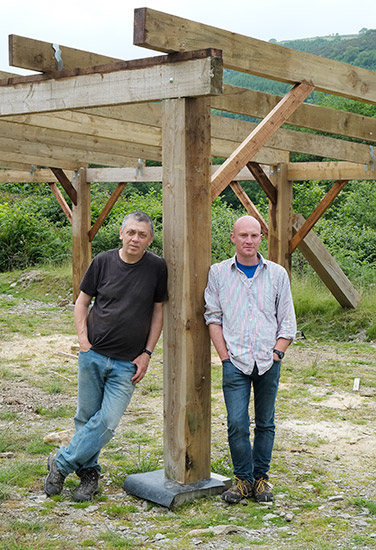
But at least it is starting to look like a shed. The next post will show the roof and boarding, just as soon as I’ve sourced these! Whilst I don’t have prices for these yet I’m expecting the whole barn to cost around £1500 – £2000 which I don’t think is too bad for a 12m x 5m barn. It could be built for half of this by careful sourcing of things like second hand roofing sheets etc.
Disclaimer; I am not a structural engineer or a builder so the whole project is more ‘belt and braces’ than calculations and you should not rely on my design for your own building!


Very interesting article , lowestoft, England, U.K.