Welcome the last and final part about how I built a 12m x 5m barn for storing logs and implements on our small holding. It could also be used for sheep housing in winter. The project became more of a timber framed building than a pole barn; but you could easily adapt it and just put telegraph pole uprights straight into the ground (or concrete them in) if the land was suitable. The previous parts are here.
Part 1
Part 2
Part 3
Part 4
I must reiterate my disclaimer; I am not a structural engineer or a builder so the whole project is more ‘belt and braces’ than calculations and you should not rely on my design or construction for your own building!
After finishing the frame in Part 4 I then spread some of the shale around that we had dug up when building the house extension to provide a firm floor. I would have liked concrete but it was just too expensive for this project.

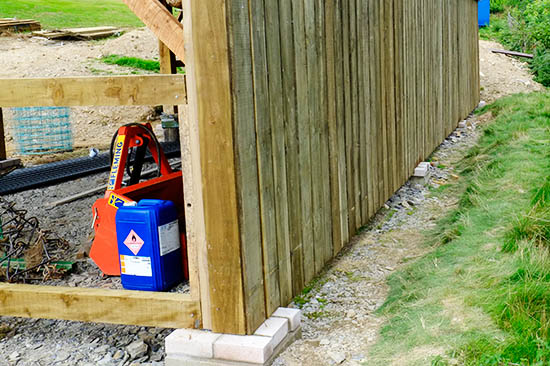
The next thing I did was build a single brick pier around the base of each column. This is to ensure that the columns cannot move laterally in any direction even if hit with a tractor and to provide a support to keep the bottom rail for the cladding off the ground. It also means that I can pour preservative or perhaps waste oil down between the brick and the wood every year or two to stop the base rotting! The columns are also on a piece of damp proof membrane for this reason as well. The photo below shows this.

Horizontal rails were fixed across between the columns and the vertical boarding nailed to these with approximately 20mm air gaps. The photo below shows the cross rails and the boarding nailed on the back. All the timber was supplied treated so no need for any preservative other than on the cut ends and joints.

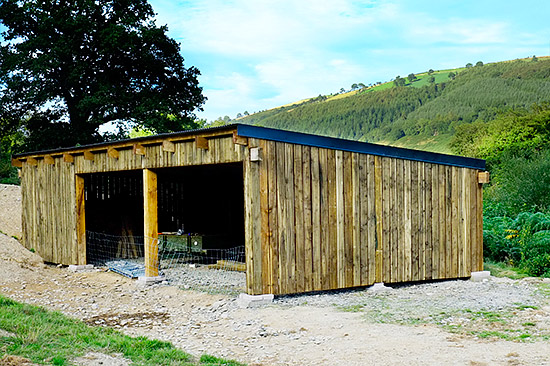
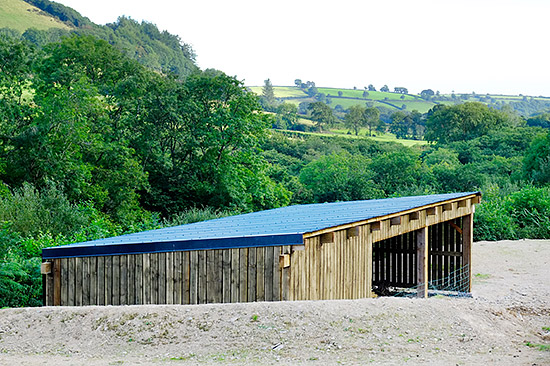
All that was left to do was cut all the side boards to the correct height and fix them before fixing the end cover strip which is fixed over (and through the roofing sheets) and covers the top of the side timbers to give a nice clean finish.

We’ve always been keen that it would be hidden in the landscape as much as possible so deliberately set in the lowest spot and formed a soil bank in front of it. This will be planted to screen it from view..

So there you have it our barn that we built entirely ourselves. Some people have asked about costings and this is of course a lot more than if we had used telegraph poles and second hand roofing sheets. But I estimate.
Clearing the site/digging footings £100
Timber Frame £700
Roofing Sheets £700
Timer Boarding and support rails £500
Nails/Screws/Sand/Cement etc £150
Total £2150
That’s it; I may put some light field gates on the openings to keep the sheep out (or in if I put them inside) and I may build a sheep handling area next to it.
So that could be another project!


Hey John, I’m glad I stumbled across your blog, it’s the first one I’ve encountered that isn’t American ! And we live in the same county as well !
I’m about to embark on building a similar sized barn , mainly to house the tractor, quad and other implements, but also to use as a shelter for the sheep in extreme weather and provide shelter from rain on shearing day.
I can tell you that the dimensions of the timbers are spot on, as I’ve taken advice from a couple of friends who are carpenters and a quantity surveyor , but it’s still re-assuring to see that someone else has successfully built a barn using what I’m planning to use.
I was under the impression that a timber building for farm purposes did not require planning permission, especially when not visible from roads or surrounding areas, but it seems from your first post that this needs to be passed/agreed by the C C Council ?
I enjoyed following your progress, and will now start my own barn once I’ve felled 3 large Leylandi trees that could land on the barn if the South Westerly winds continue to target them !
Wyn
Thanks for your blog, learn’t a few things for my barn to be.